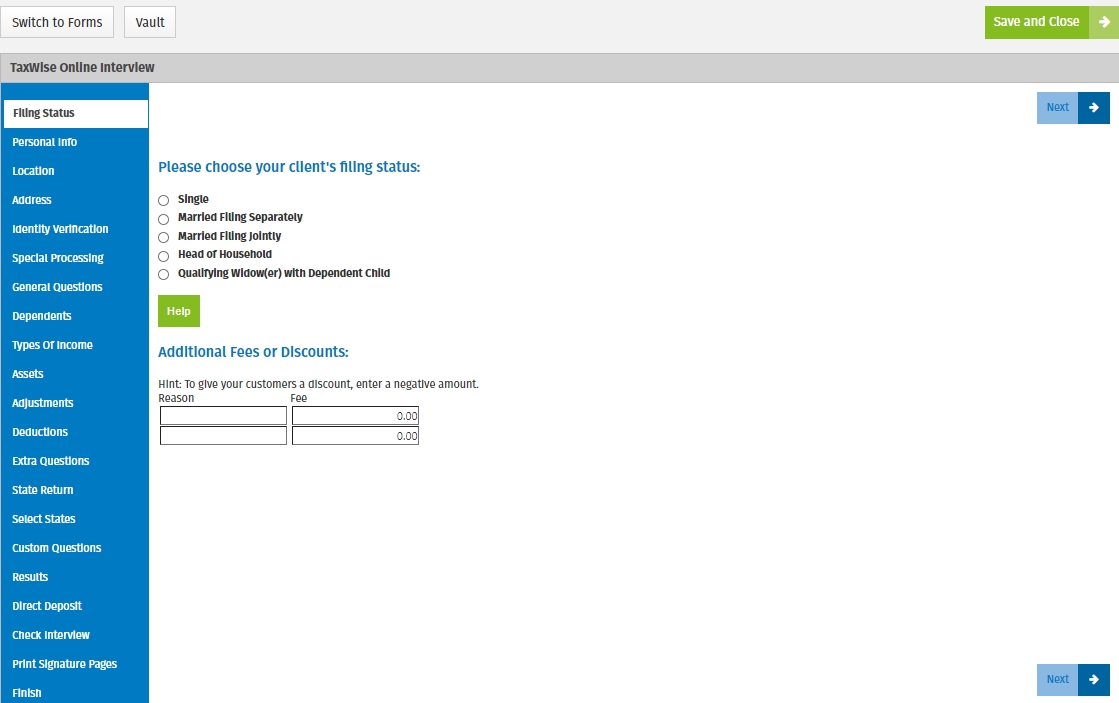
The Interview allows you or your office staff to quickly interview your clients and enter basic information. You can use it to:
To start a return using the interview process, use the following steps:


There are two ways you can maneuver through the Interview Wizard. You can click Next or Previous or click the links in the left-hand panel. The recommended method is using Next and Previous to ensure all pages are viewed before finishing.

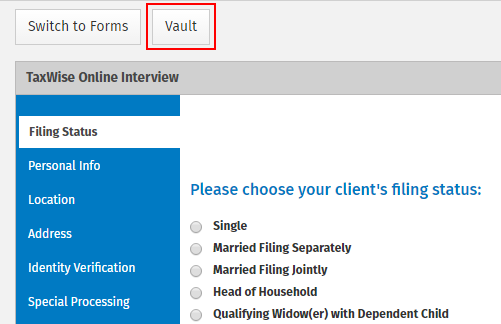
In the Interview Wizard you can use the Vault button to store documents and files associated to the client's return.

The pages you see in the Interview will depend on how your office is set up. If you are a sub-office that submits interviews to your Main Office, you will see the Submit Interview page instead of the Finish page. After submitting the interview, your Main Office will complete and e-File the return.
The following table details the sections of the TaxWise Online interview page:
|
Section |
Description |
|
Filing Status |
Select the appropriate filing status for the taxpayer. More than one status may apply. Select the one that provides the lowest tax. This screen also allows you to enter additional fees and discounts for your customers. |
|
Personal Info |
Enter the taxpayer's (and spouse's, if applicable) name, Social Security Number, date of birth, occupation, date of death (if applicable) and e-mail address. Also indicate if EITC was previously disallowed. |
|
Location |
Select whether the taxpayer lived in the United States or outside the United States. |
|
Address |
Enter the taxpayer's address, daytime phone number, evening phone number, and mobile phone number for the taxpayer and spouse (if applicable). |
|
Identity Verification |
Enter the requested information from the driver's license or state issued identification card for the taxpayer and spouse (if applicable). |
|
Special Processing |
If the taxpayer was on active duty military service in a designated combat zone during 2021, select the combat zone from the list. This information is included in the IRS e-File and prints at the top of the 1040 form you file. |
|
General Questions |
Answer the general questions for the taxpayer and spouse (if applicable). |
|
Dependents |
Indicate if the taxpayer is claiming any dependents. |
|
Dependent List |
The Dependent List page displays the information you enter on the Dependent Details page. |
|
Child Care Expenses |
Enter the amount the taxpayer paid for each dependent, then click Edit to enter the Care Provider's information. |
|
Types of Income |
Select the check box(es) for any type of income the taxpayer might have received. To add lines for additional income statements, select the type of income from the drop-down list and click the Add button. Enter the income amount, tax withheld and tax ID for the type of income statement. |
|
Assets |
If the taxpayer sold or otherwise disposed of any stocks, mutual funds, bonds or other non-business securities, a personal residence, rental property, or property related to a business or farm, including land and equipment, select the appropriate check box(es). |
|
Barter |
Indicate if the taxpayer and/or spouse (if applicable) had property sales that involved a barter agreement and/or if installment payments were received for any property sold. |
|
Adjustments |
Select any adjustments to income that apply to the taxpayer or spouse, if applicable, for 2021. |
|
IRA Contributions |
Enter the amount of IRA or Roth IRA contributions and indicate if the taxpayer or spouse (if applicable) was a full time student. |
|
Student Loan Interest |
Enter the amount of qualified student loan interest paid for postsecondary education. |
|
Education Credits |
For each eligible student, the taxpayer can only elect to take one of these credits. Refer to IRS Pub 17 for 2021 for more information. |
|
Moving Expenses |
Enter the amount of travel and moving expenses. |
|
Alimony |
If you made payments to or for your spouse or former spouse under a divorce or separation instrument you may be able to take this deduction. Alimony deductible to the payer is also taxable to the recipient. |
|
Deductions |
Select the applicable check box(es) to indicate the types of deductions the taxpayer might have received. |
|
Medical Expenses |
Enter the amounts of unreimbursed medical expenses you paid in 2021. |
|
Taxes Paid |
Enter the amount of taxes paid in 2021. |
|
Job Expenses |
Enter the amount of unreimbursed employee expenses, tax preparation fees, and other expenses. |
|
Mortgage Interest |
Enter the amount of home mortgage interest from Form 1098 and real estate taxes. |
|
Gifts to Charity |
Enter the amount of gifts to charity. |
|
Extra Questions |
Select any check boxes that might apply to the taxpayer or spouse, if applicable. |
|
State Return |
Select the appropriate button indicating if the taxpayer needs to file a state return. |
|
Select States |
For each state the taxpayer needs to file a return for enter the two letter abbreviation. |
|
State Questions |
Enter all applicable information for the state questions. |
|
Custom Questions |
The custom questions page located in the Interview Wizard are created by the Admin user. These questions allow you and the processing location to gather consistent information for reporting purposes. |
|
Bank Use |
Allows the taxpayer (and spouse) the ability to give consent to use their information for bank product determination by entering a PIN. |
|
Bank Disclose |
Allows the taxpayer (and spouse) the ability to give consent to disclose their information for their bank product application by entering a PIN. |
|
Results |
Allows you to select how the taxpayer wants to file the return (bank product, e-File only or Paper) |
|
Direct Deposit |
Allows you to select the type of bank of account and enter the routing transit number (RTN) and bank account nmber (DAN). |
|
Check Interview |
After completing the required information, you can click Check Interview for any errors and warnings. If any errors or warning are found, click Go to Diagnostics, where you can view all errors, select the error and link to the corresponding form to make the corrections. |
|
Print Signature Pages |
Allows the tax preparer to print the signature pages required before finishing or submitting the interview. The signature pages must be printed before the Submit the Interview button will be available on the Submit Interview page. |
|
Finish Submit Interview |
Click the Finish button at the bottom of the page when you have completed the Interview. Click the Submit the Interview button to send the interview to your Main Office. Once the interview is submitted and return is filed, you will be able to check the return's e-File status from the Dashboard or by viewing the US e-File and State e-File columns in the return list. |
Based on the answers entered in the Interview, TaxWise Online loads the return with all necessary forms. Forms may be added by clicking the Add a form button in the Loaded Forms pane or you can change any of the answers in the interview (and any accompanying forms) by clicking Switch to Interview.
See Also: